.png)
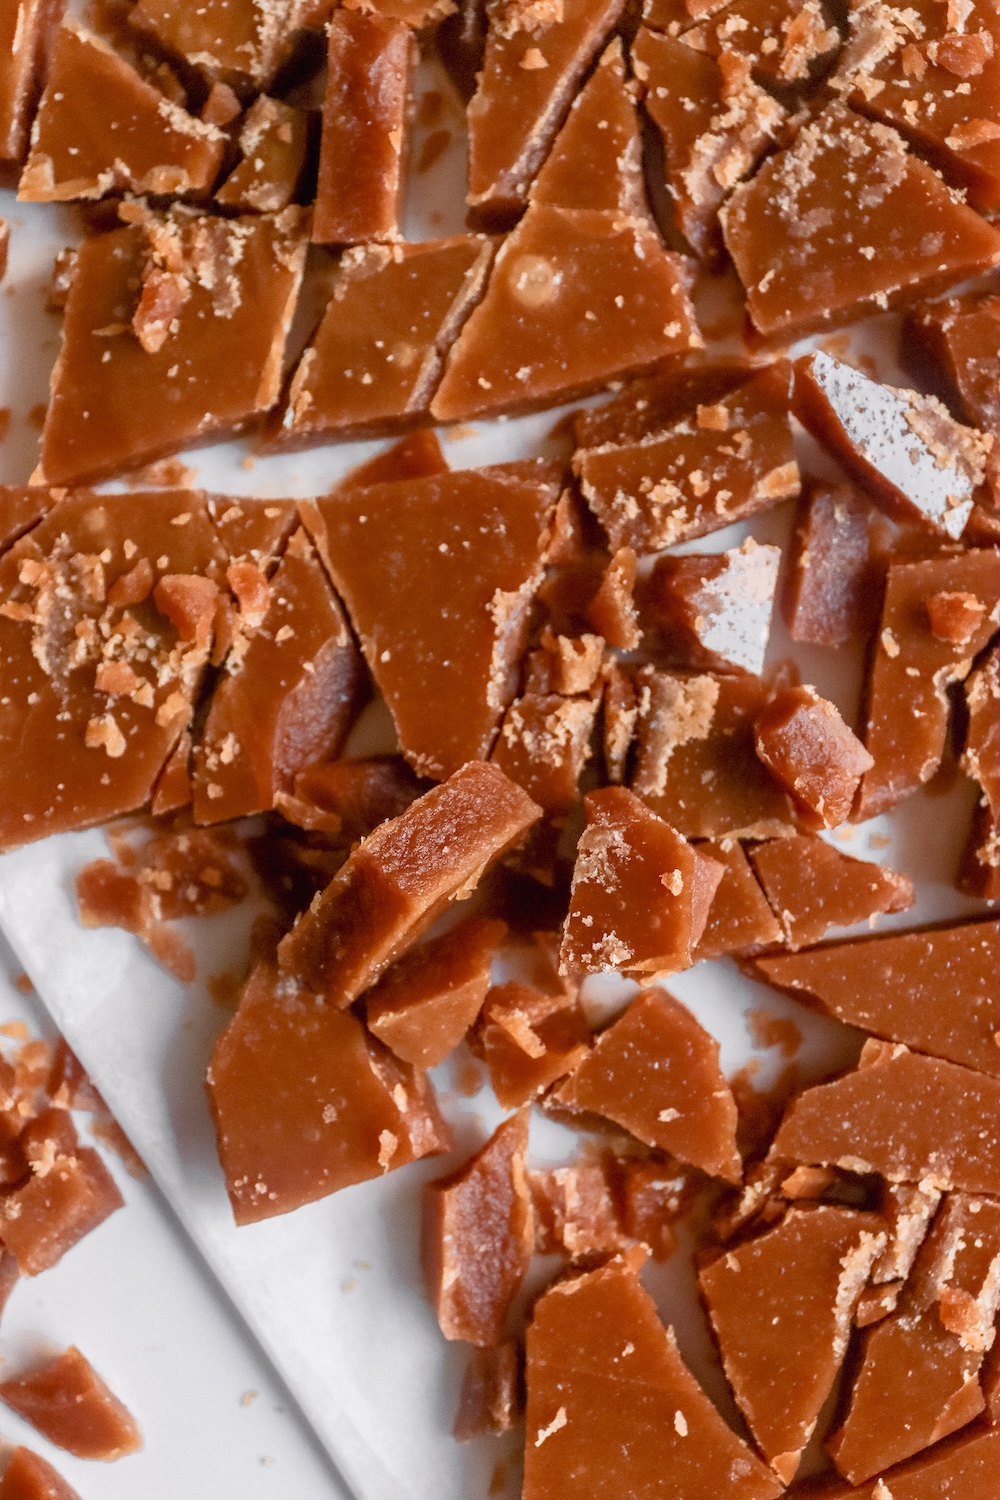
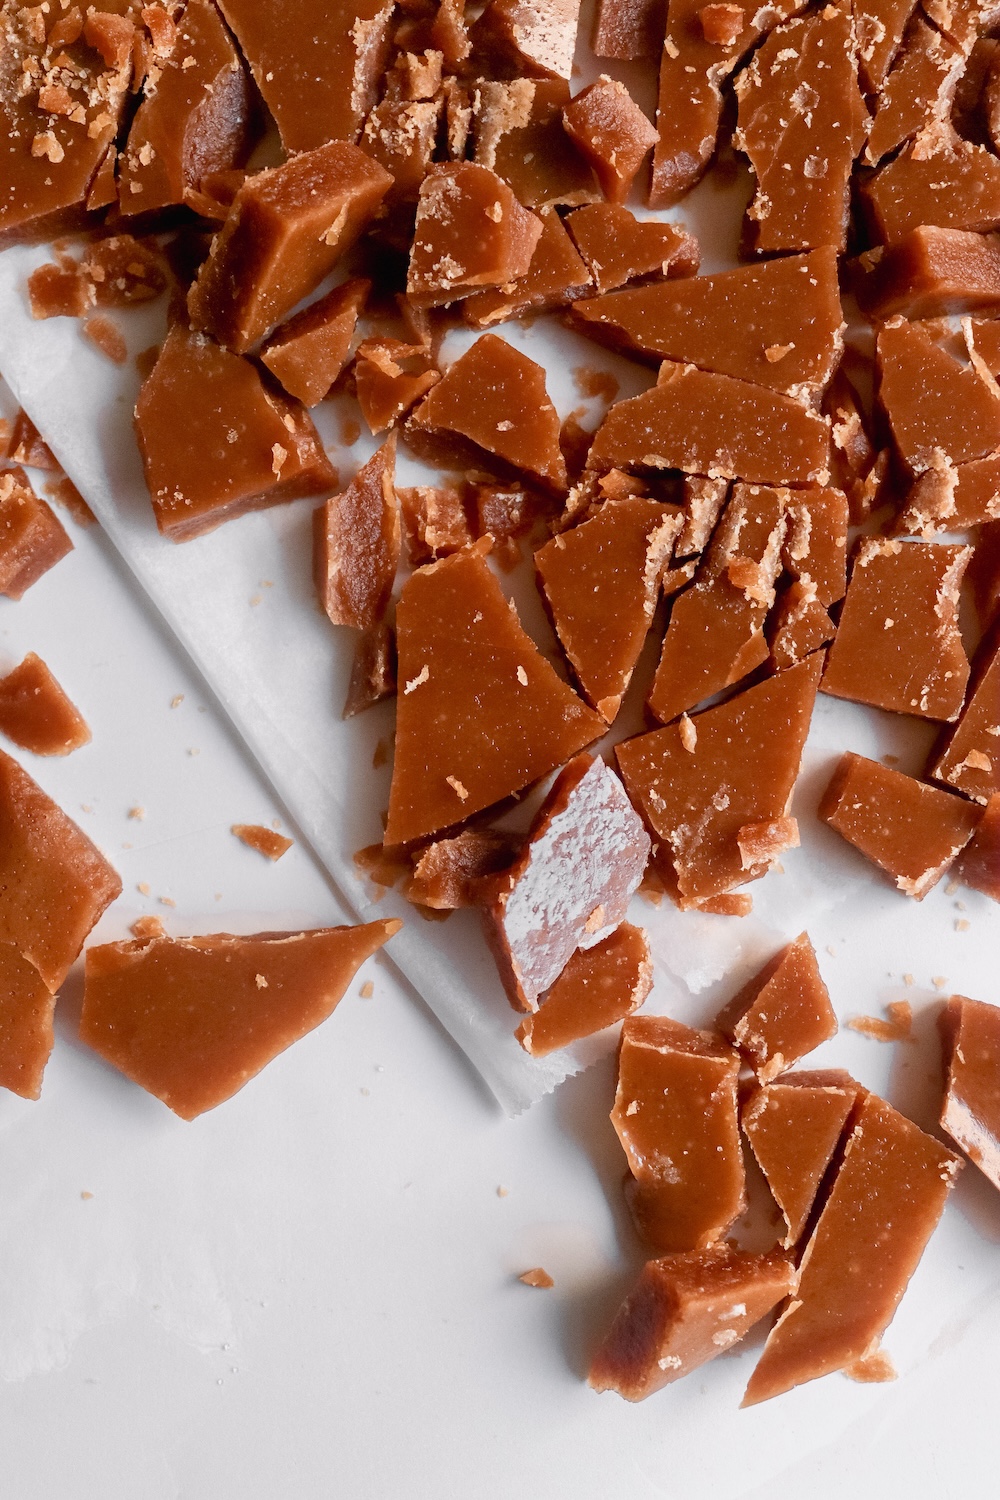
Just three simple ingredients and about 15 minutes and you’ve got crunchy, buttery toffee bits perfect for sprinkling on cookies, brownies, muffins, ice cream, or just eating by the handful. Buttery, crunchy, sweet-salty toffee bits you can sprinkle on literally everything. Cookies? Yes. Brownies? Absolutely. Straight from the container? No one can stop you.

There’s something so magical about transforming just butter and sugar into crunchy, golden toffee. Here’s the behind-the-scenes alchemy happening in your pot:
The butter-sugar emulsion
When the butter melts and mixes with the brown sugar, the water in the butter helps the sugar to dissolve. Fat and water are naturally not friends, so constant stirring keeps everything emulsified so you get a smooth, shiny toffee instead of one that separates.
Brown sugar = deeper flavour
Brown sugar includes molasses, which adds a little chew, a little toastiness, and that caramelly depth. It’s what makes these toffee bits taste like toffee
The hard-crack stage
Cooking the mixture to about 150–155 °C evaporates enough water that the cooled candy snaps instead of bends. That’s how you get perfect crunchy pieces that hold up beautifully in cookie dough, brownies, and ice cream.
Salt for balance
Just a pinch wakes everything up. It keeps the candy from leaning too sweet and makes the buttery notes shine even more.
Thin pour = crisp bits
Spreading the hot toffee into a thin sheet helps it cool quickly and evenly
Ingredients
113 g unsalted butter
200 g light brown sugar
5 g fine sea salt
1tsp vanilla paste
Instructions
1 - Line a small baking sheet with parchment or a silicone mat.
2 - Melt butter over medium heat. Add brown sugar and salt; stir for 1 minute to combine.
3 - Continue stirring constantly for ~10 minutes, until it thickens and reaches 150–155 °C.
4 - Pour onto the prepared sheet and spread into a thin layer. Cool at least 20 minutes.
5 - Crack into small bits. Store airtight for up to a week.
Watch the heat and stir constantly: Sugar can burn fast or separate if left unattended. A heavy-bottomed pan helps avoid hot spots; never step away while cooking.
Storage: Once broken into bits and cooled, keep them sealed. They store beautifully and are ready to elevate cookies, brownies, muffins — or whatever your sweet tooth craves.
Buttery, crunchy, sweet-salty toffee bits you can sprinkle on literally everything. Cookies? Yes. Brownies? Absolutely. Straight from the container? No one can stop you.
I’m so happy you’re here! Have a look around at some of my favourite recipes and stay a while.
Get a fresh delivery of only the goods delivered to your inbox.
KVK: 85225274
BTW: NL004070808B89
Leave a comment