.png)
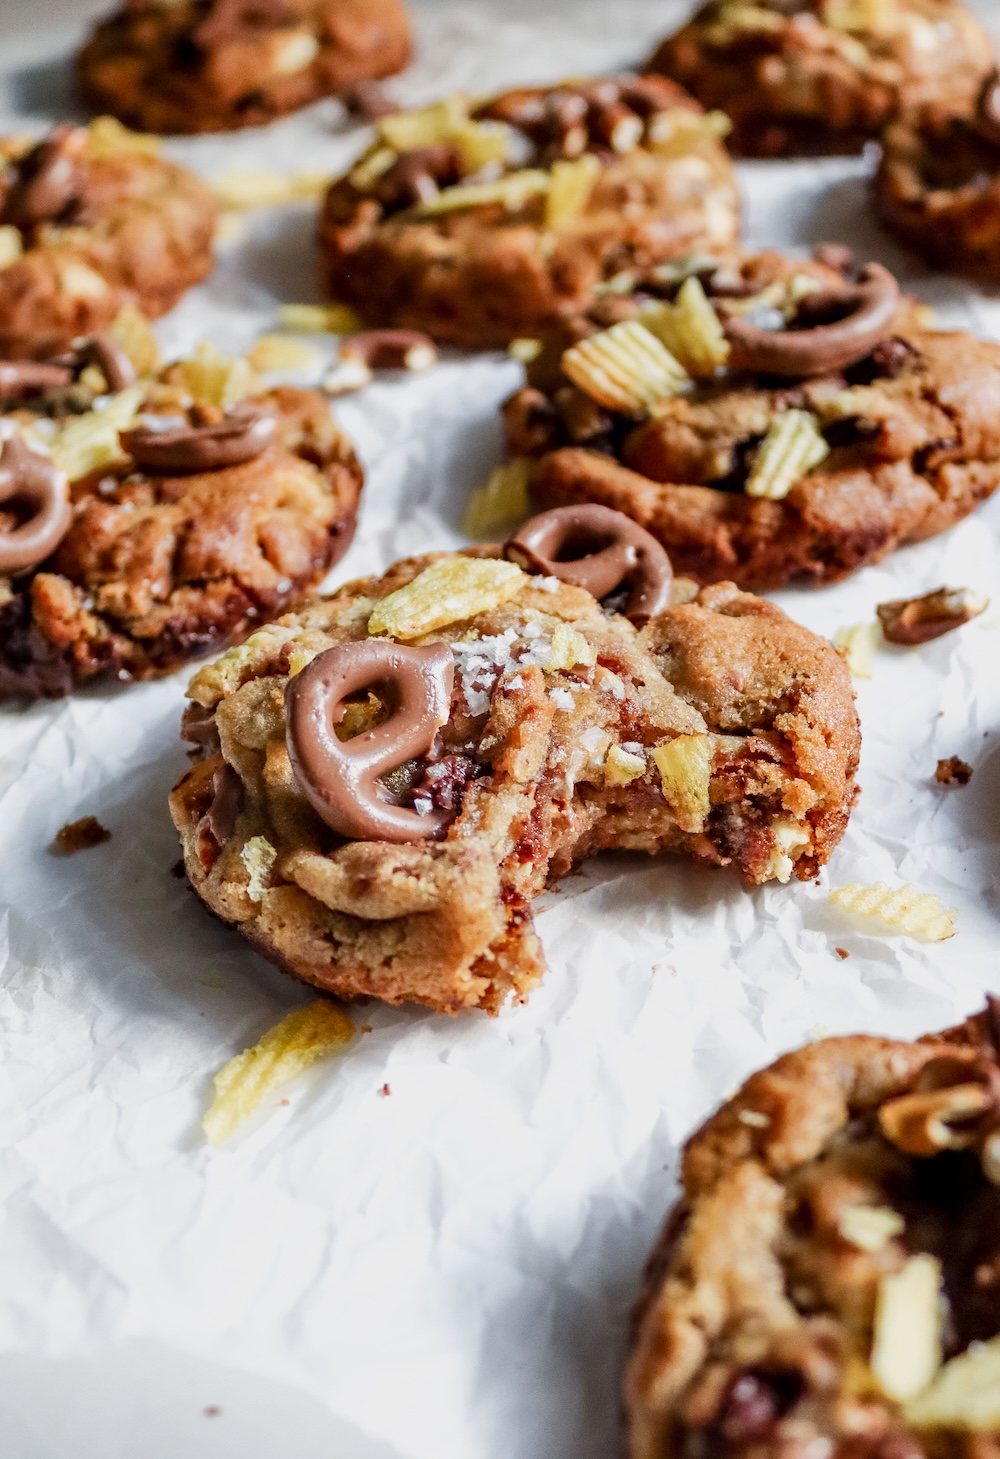
Sometimes, cookies need to go all out, chocolate, salty crunch, gooey centers. Enter the Kitchen Sink Cookie: browned butter, chocolate chunks, pretzels, and potato chips. Sweet, salty, soft, crunchy, just chaos in the best way possible.

The name comes from the old saying, “everything but the kitchen sink,” and honestly, it fits perfectly. These cookies are exactly that, a mix of sweet, salty, crunchy, gooey, and chocolatey, all rolled into one giant, messy, irresistible cookie. You can throw in chocolate chunks, pretzels, potato chips, nuts, or whatever you have on hand, and somehow it all just works. Every bite is a little surprise that keeps you coming back for more.
Step 1: Brown the Butter
Melt butter over medium heat until golden and nutty. Cool slightly. Browned butter adds depth and caramel notes that make these cookies irresistible.
Step 2: Mix Wet Ingredients
Whisk browned butter with brown and granulated sugar until smooth. Add egg, egg yolk, and vanilla extract.
Step 3: Combine Dry Ingredients
Fold in flour, salt, and baking soda until just combined. Don’t overmix; soft cookies need gentle handling.
Step 4: Add Mix-Ins
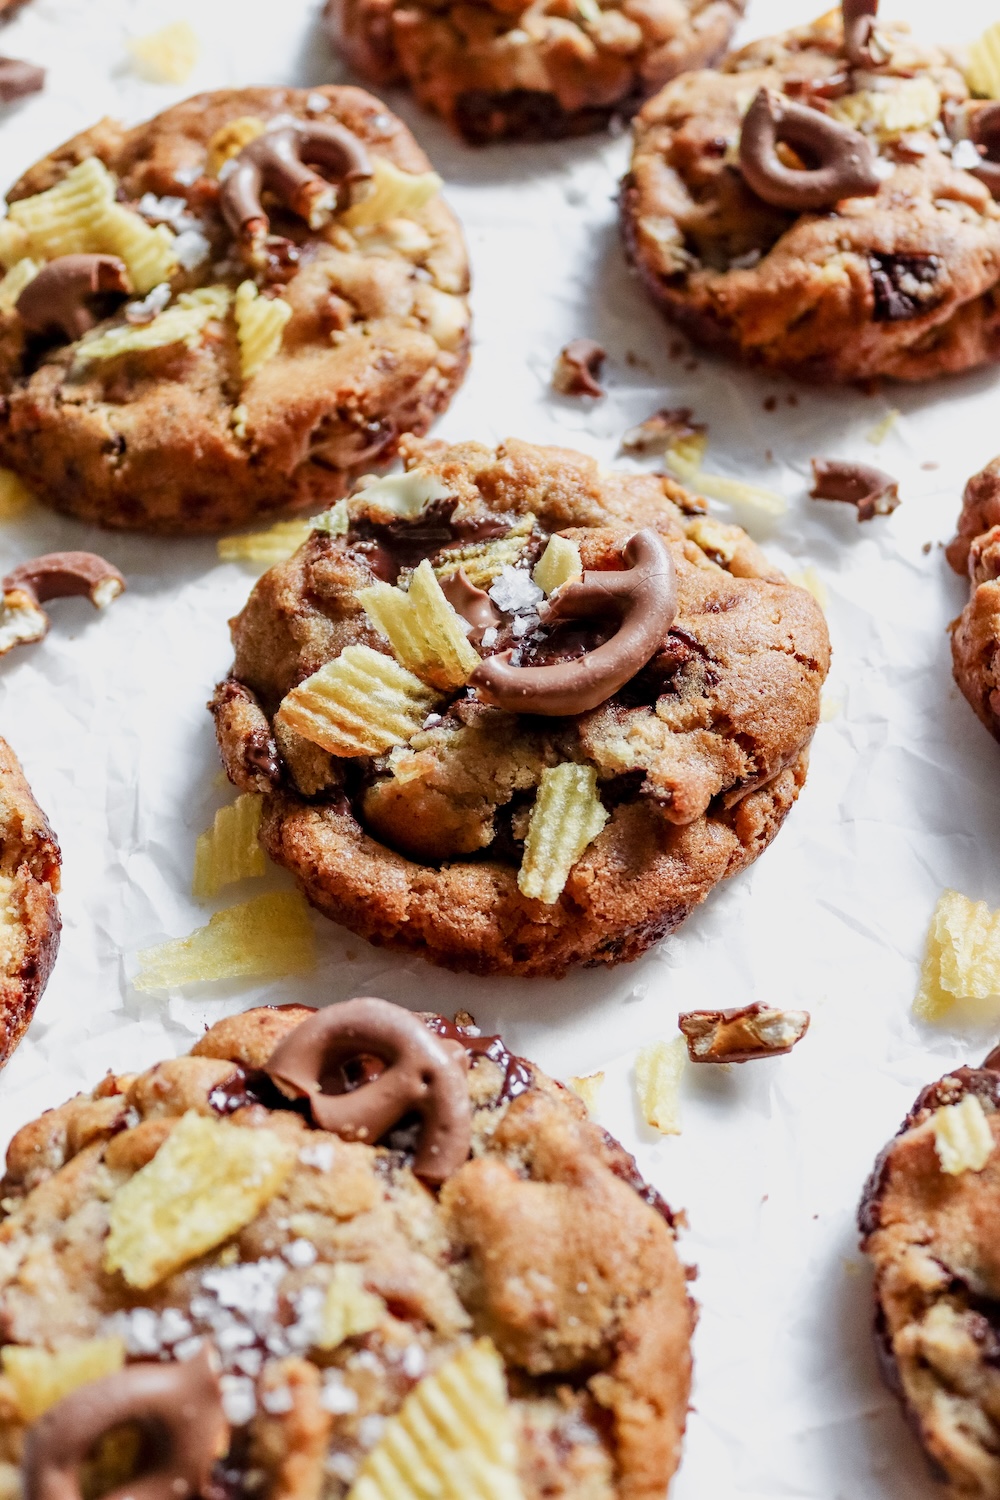
Gently fold in chocolate chunks, potato chips, and pretzels. This creates the signature sweet-salty-crunch texture.
Step 5: Bake
Scoop generous mounds on a parchment-lined tray. Bake 12–15 minutes at 175°C / 350°F until edges are set but centres are soft.
Step 6: Cool & Enjoy
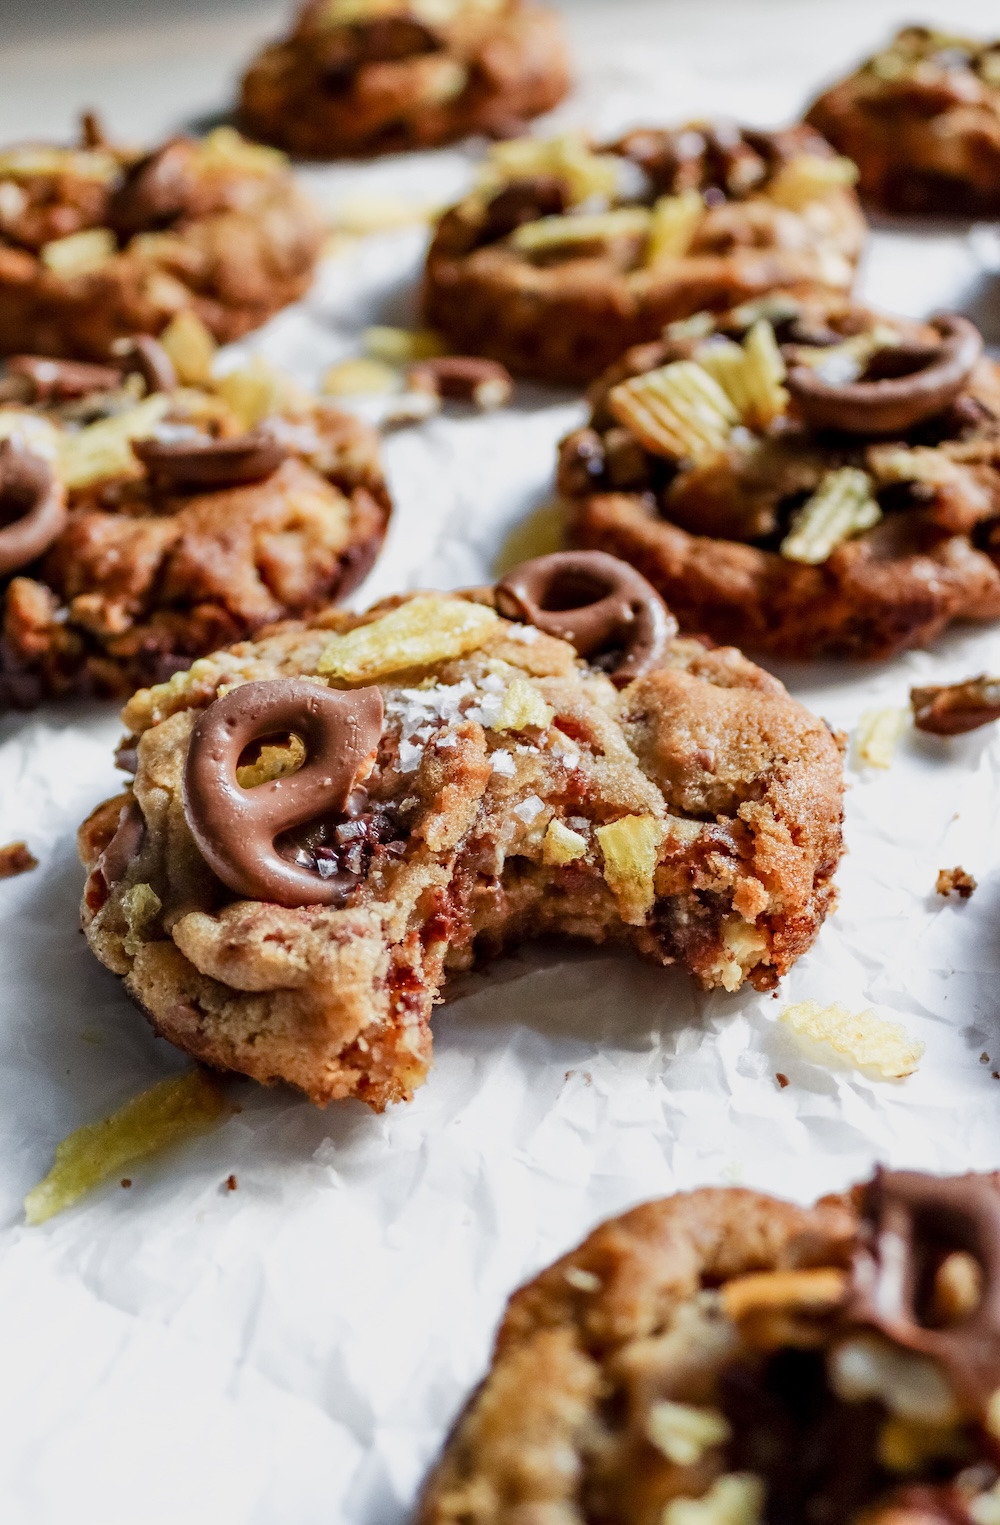
Rest 5 minutes on the tray before transferring. Cookies will stay soft and chewy with gooey chocolate pockets.
Do not skip on salt and vanilla - It doesn’t sound like much of an addition, but it makes all the difference in your final bake. DO NOT SKIP on these key ingredients! They are the key to that perfect balance in flavours
Use browned butter - Specifically, use unsalted butter for this, as this allows you to control and balance the amount of salt in the recipe yourself. Browning your butter gives the cookies that delicious nutty hint, notes on how to brown your butter are below
Do not overmix your batter - Overmixing your batter will cause your cookies to spread out too thinly in the oven, giving you a flatter and crispier cookie
Chill your cookie dough before baking - This sounds excessive but allowing your cookie dough to chill in the fridge for a few hours before baking allows for the flavours to settle in and for the butter to harden again. Once you bake your chilled dough, you will get the perfect height and spread of your dough. Not chilling the dough makes the cookies spread too much in the oven and they just won’t have the same intensity of flavour
Do not overbake - When these cookies come out of the oven, they tend to look a bit underbaked. However, cookies always continue to cook through once they are out of the oven. Usually, a cookie will take up to 20 minutes after it has been taken out of the oven to be completely done cooking, chilling, setting and being ready to eat.
Allow your cookies to cool completely - Due to the above, not allowing your cookies to cool properly will halt the final stages of its cooking process and leave you with underbaked cookies. I know it’s hard, but let your cookies rest at least 20 minutes before digging in!

Absolutely! I would recommend freezing to pre-scoop your dough into cookie dough balls and place them in a ziplock freezer-safe bag. These stay fresh for up to 3 months in the freezer and you can basically bake them on demand! Frozen cookie dough balls will create a slightly thicker cookie but definitely just as tasty. Either allow your cookie dough to come to room temperature (about 30 ish minutes) and bake according to instructions, or bake a bit longer directly from frozen. Just look for those crispy edges & gooey middle to take them out of the oven.
Making your own browned butter may sound like a daunting task, but it is super easy! It is the absolute BEST addition to any of your bakes that requires butter, so it is highly recommended to get a hang of this. Just follow these simple steps and you’ll be good to go:
These cookies are definitely at their best on the day that they are baked. I would not recommend baking these cookies ahead of time as they tend to go slightly stale after 2 days. You can keep them ‘fresh’ in an airtight container for up to 3 days. However, I would recommend baking and consuming them on the same day or within 2 days.
Because of this, I highly recommend keeping your freezer stocked with this cookie dough so you can simply bake them on-demand.
Sometimes, cookies need to go all out, chocolate, salty crunch, gooey centers. Enter the Kitchen Sink Cookie 🍪
I’m so happy you’re here! Have a look around at some of my favourite recipes and stay a while.
Get a fresh delivery of only the goods delivered to your inbox.
KVK: 85225274
BTW: NL004070808B89
Leave a comment